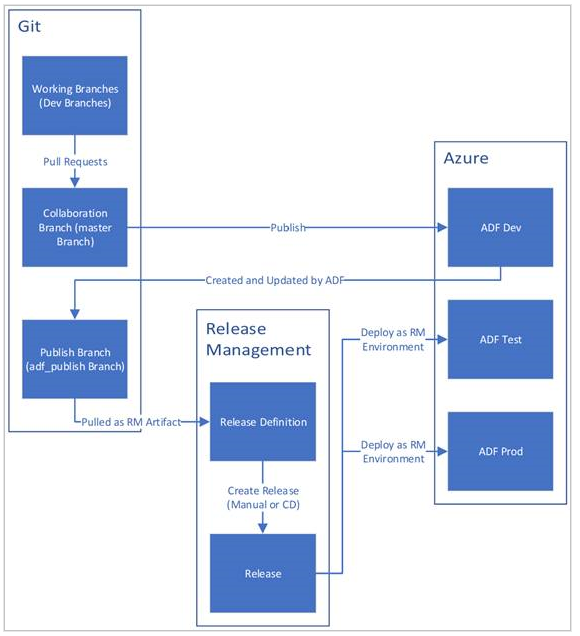
A CI/CD pipeline is a series of steps that must be performed in order to deliver a new version of software. Continuous integration/continuous delivery (CI/CD) pipelines are a practice focused on improving software delivery using either a DevOps or site reliability engineering (SRE) approach.


These are just an example of common stages you may find. Your pipeline will be unique to the requirements of your organization.
In ADF, CI/CD means moving Data Factory pipelines from one environment to another such Dev –> QA 🡪 Prod.
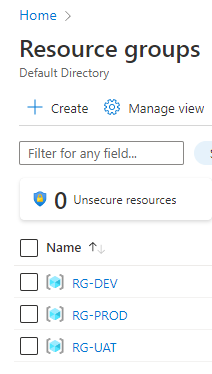
Create a Resource Groups for different environment with similar resources.
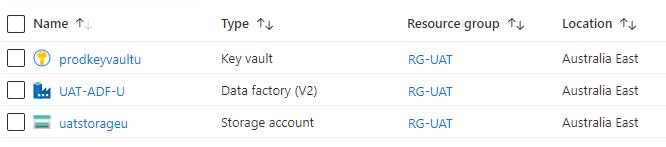
In this example, ADF pipeline used Azure Storge Account & Key vault

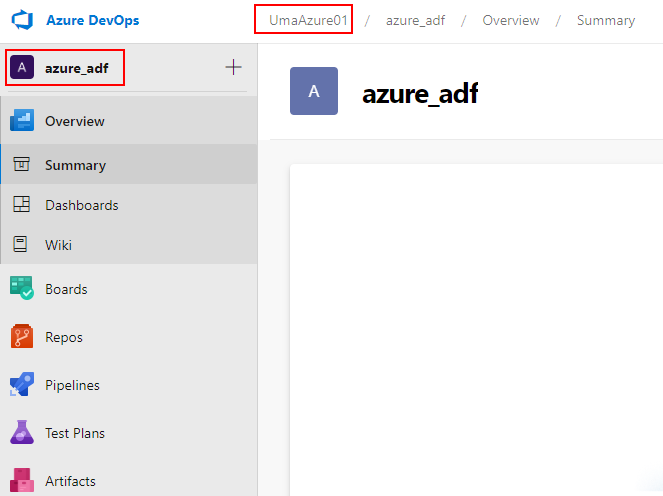
Create a new Azure DevOps Project

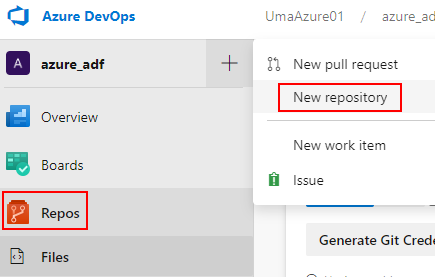
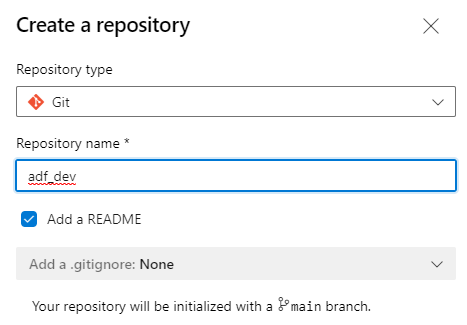
Crate a new repository
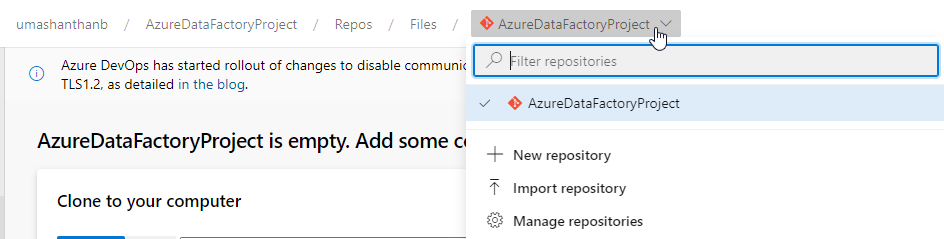
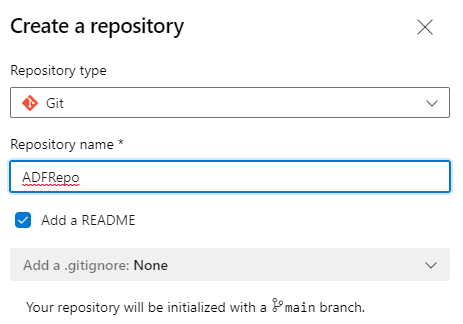
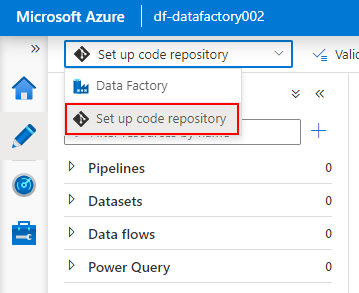
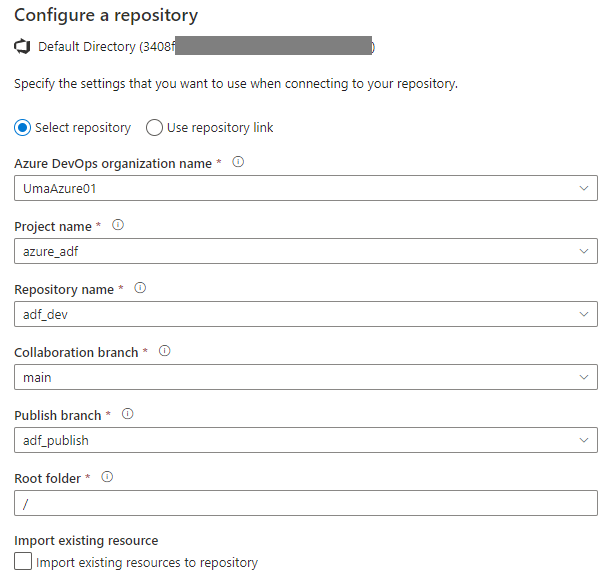
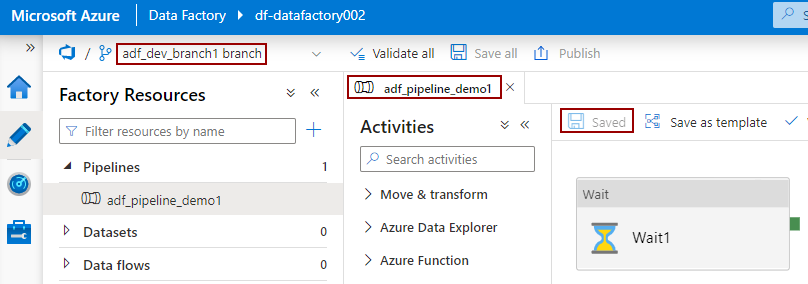
Configure DEV-ADF-U repository to ADFRepo and publish a pipeline.


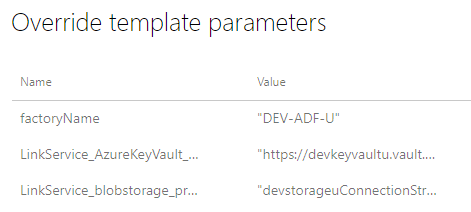
Make sure all these linked services are using DEV resources.

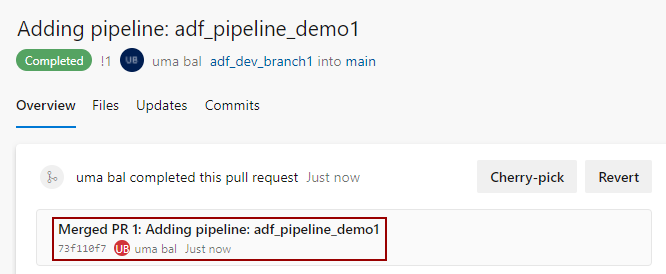
Once you publish, you can see new branch named called adf_publish branch automatically created in ADFRepo repository.
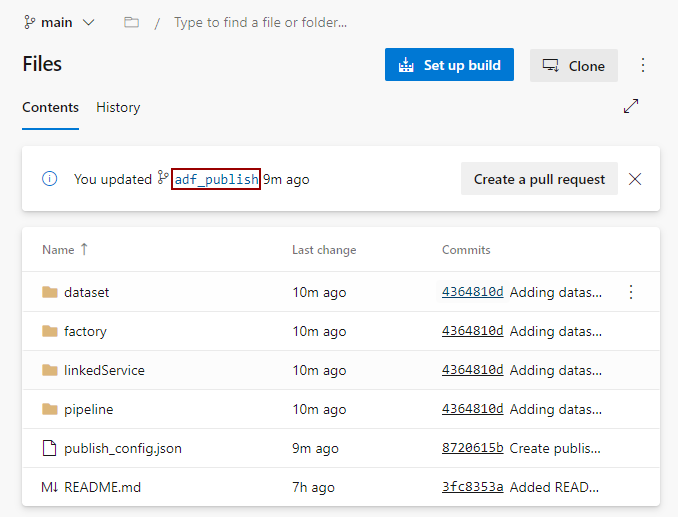
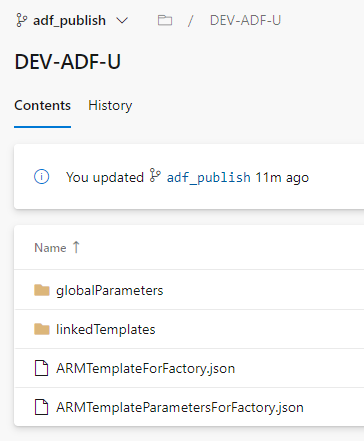
Inside the adf_publish branch, you can see the ARM template files. One for json file for pipeline and the other josn file for parameter.
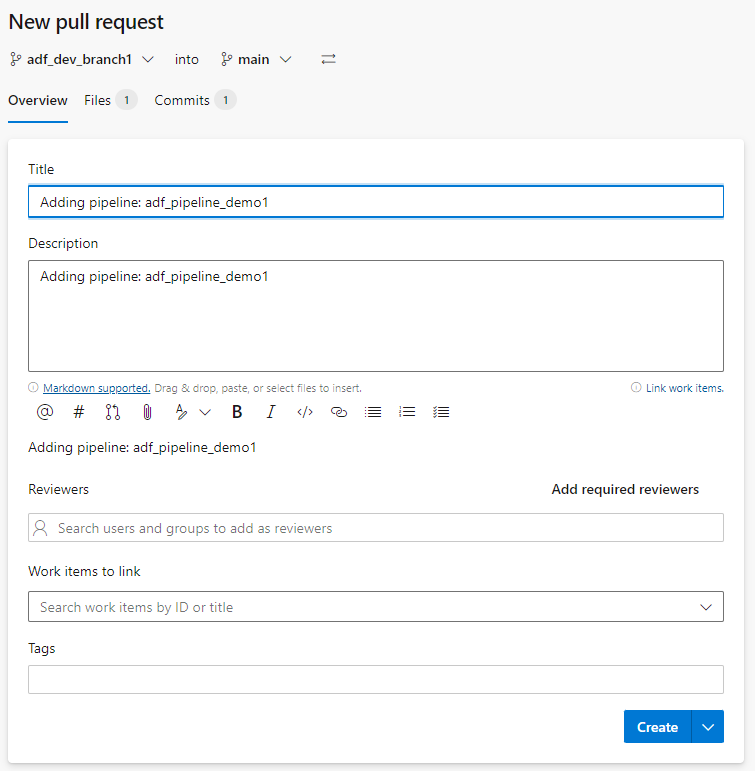
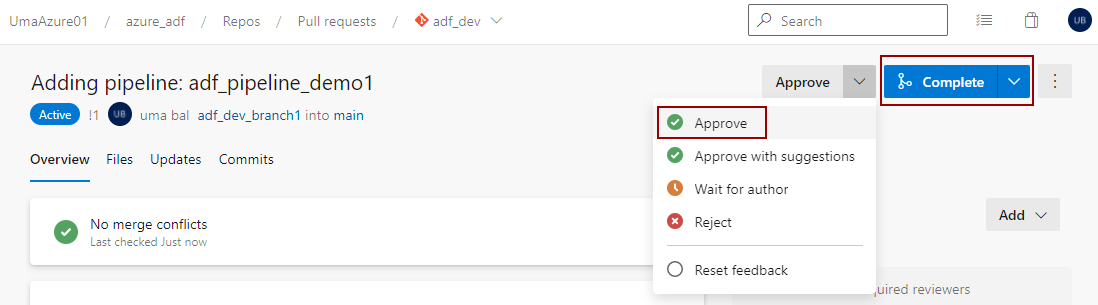
Now let’s see how to move DEV data factory to UAT data factory
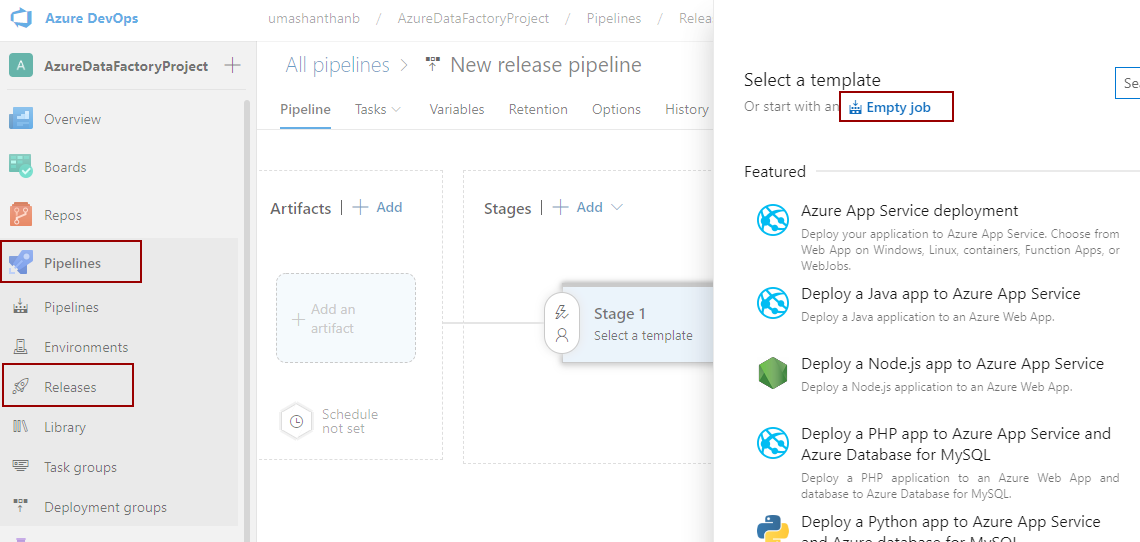
Under DevOps click on Pipelines 🡪 Releases 🡪 create Pipeline 🡪 click on Empty job
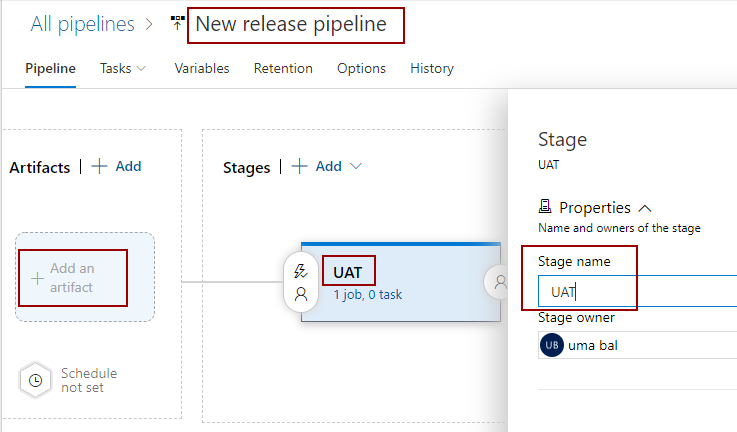
Set stage name as UAT
Rename Pipeline name as appropriate
Click on add an artifact
Configure the artifact values to the release pipeline as sown below.

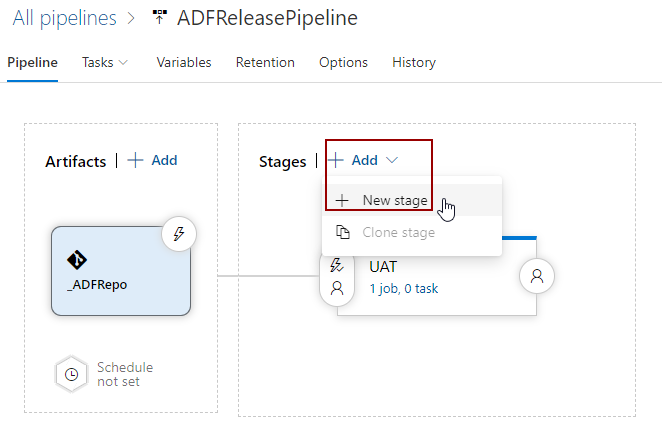
You can add new stages such as PROD from UAT
Click on UAT Stage Job
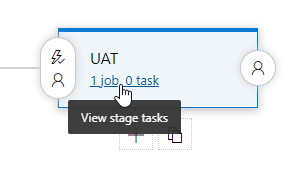
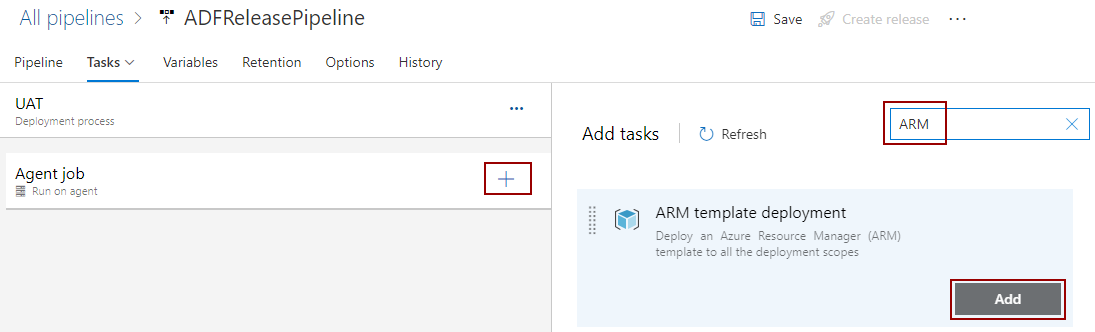
Click on Add tasks 🡪 click + on Agent Job 🡪 Search the template using ARM
In this case ARM template deployment is used.
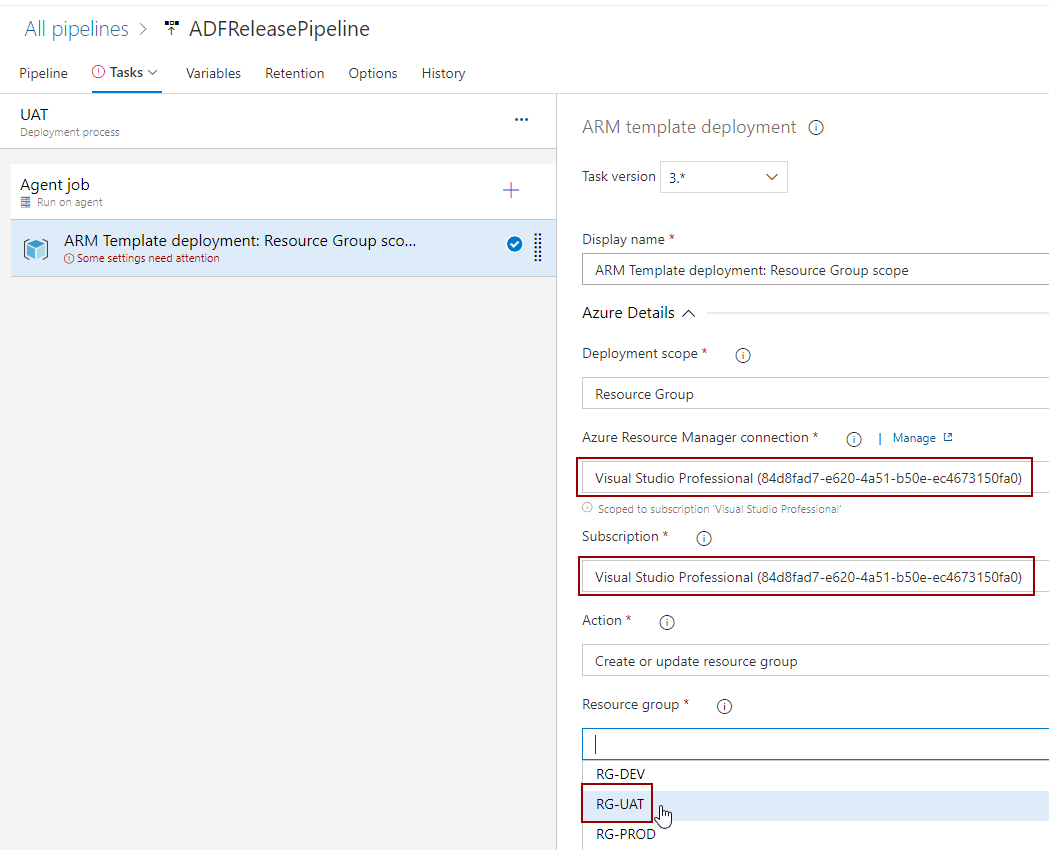
Configure the setting for the UAT environment
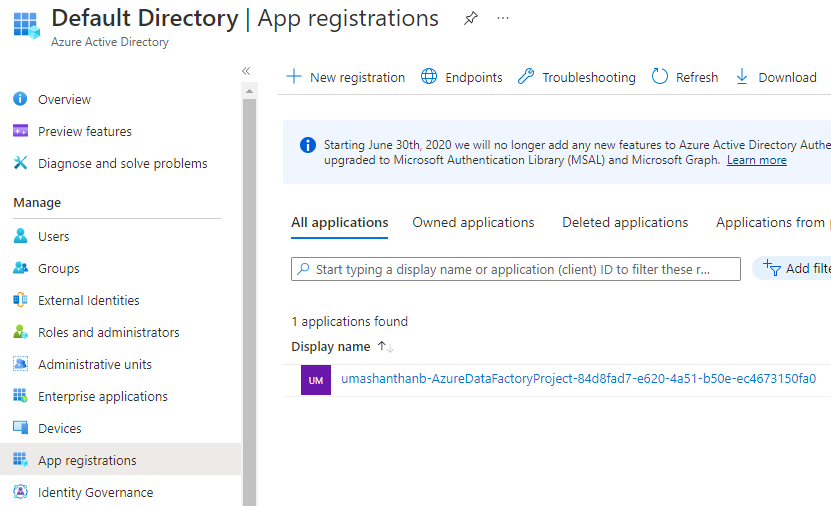
First Authorized the Azure Subscription, this will create a service principle for the pipeline, you can see that under App Registration in AAD
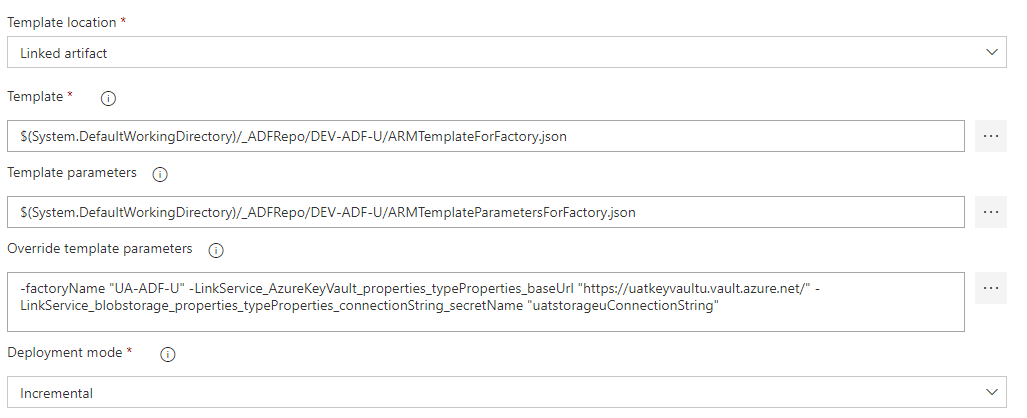
The configure the rest of the settings
Select Resource Group as RG-UAT
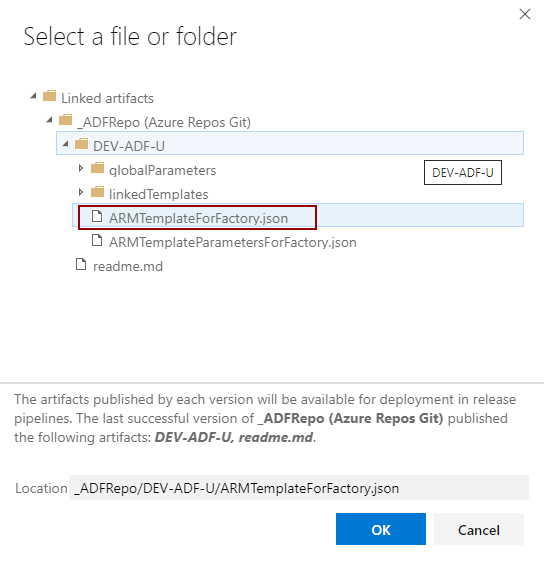
Select ARMTemplateForFactory.json as Template
Select ARMTemplateParametersForFactory.json as Template parameters
Overwrite the parameter from DEV to UAT
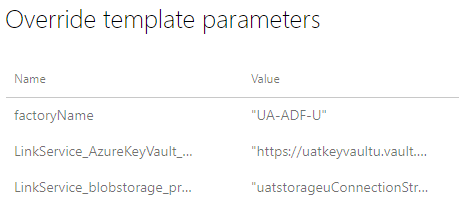
Once you configure all the values, it will be as show below
Click on Save button, this will successfully create a release pipeline for you.

To release to UAT
click on Releases 🡪 ADFReleasePipeline 🡪 click on Create release 🡪 click on create button again
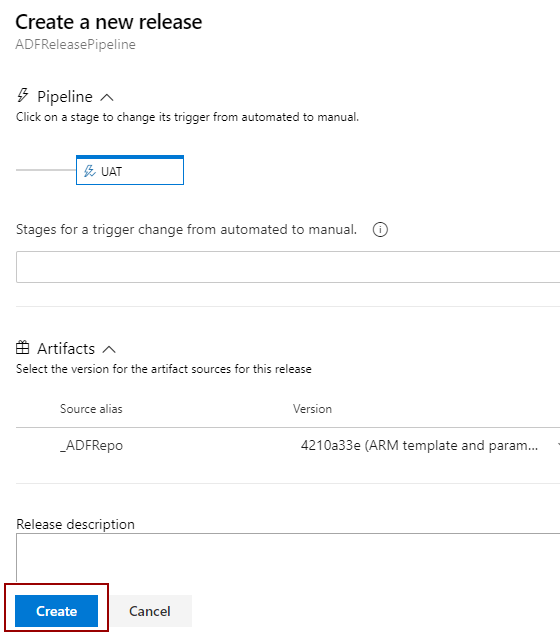
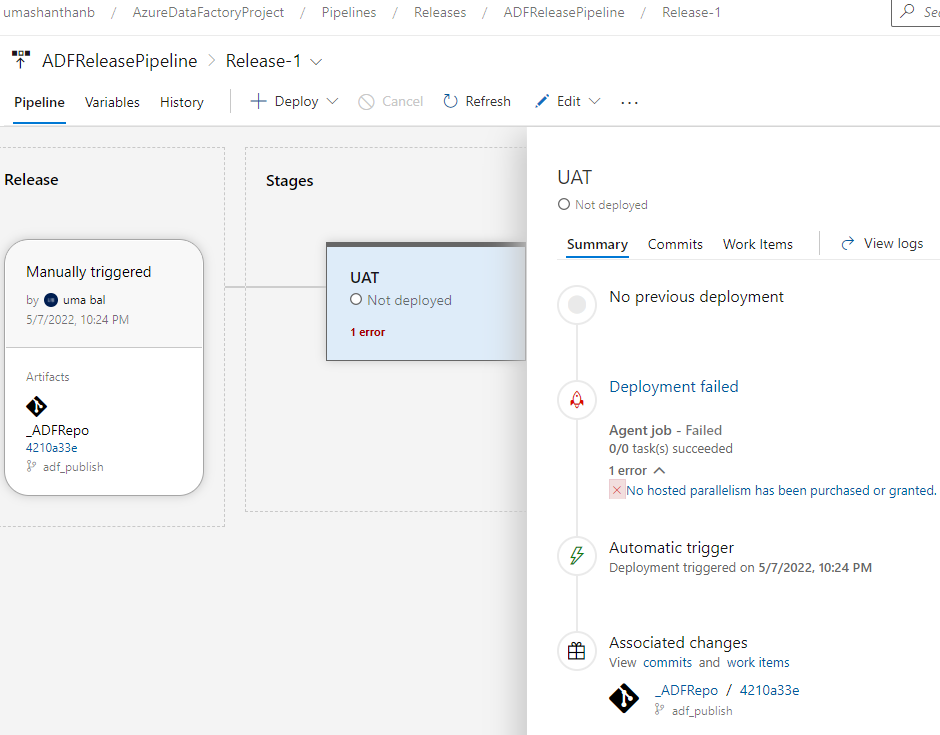
Once you click on it, it will release everything to UAT
In my case, I haven’t purchased or requested the parallelism yet which is required for release, so I got error. You can request it free using a submitting form, it would take 2-3 days to approve.
##[Error 1]
No hosted parallelism has been purchased or granted. To request a free parallelism grant, please fill out the following form
Cheers!
Uma